The beta version of Photoshop CS6 is out and there are numerous new features waiting for you to try. Explore the new filters and tools, video editing capabilities, performance boosts, and more! Read this extensive guide and see why CS6 is the best upgrade in Photoshop’s history.
1. Changing Photoshop’s interface color
There’s an entirely new dark color theme for Photoshop and it matches other Adobe products such as Lightroom, After Effects, etc. If you want to change the color theme you can press Shift+F1 to darken or Shift+F2 to lighten.
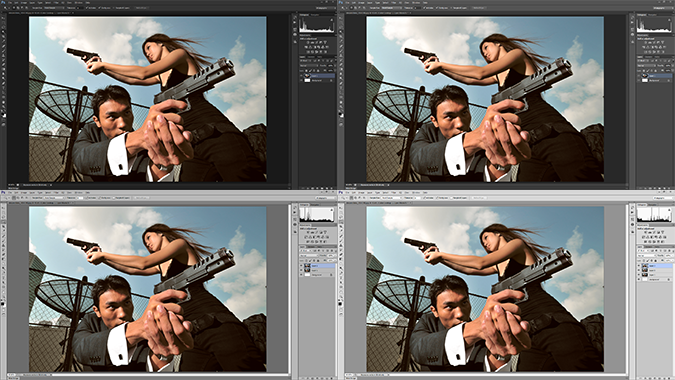
The four new color themes in Photoshop CS6
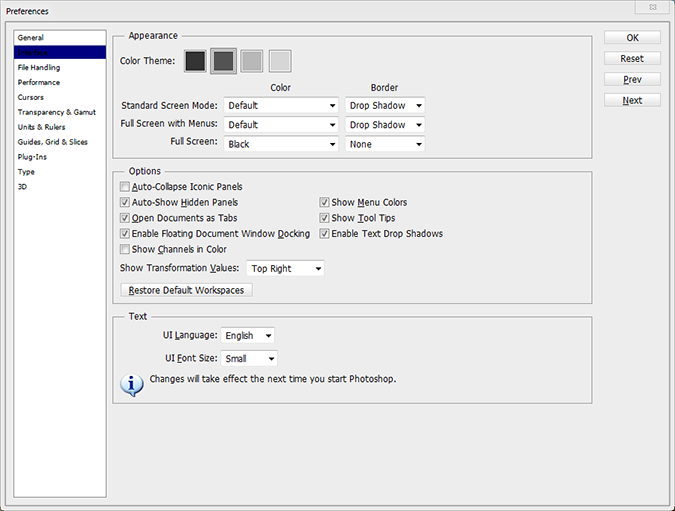
You can also set the color theme in the preferences by going to Edit > Preferences > Interface (Windows) or Photoshop > Preferences > Interface (Mac).
2. How Background Save and Auto Save Works
Have you ever had Photoshop crash on you? You’ll be happy to hear about Photoshop’s new auto save feature which saves a backup copy every 5-60 minutes.

Photoshop crashed? Run it again and you’ll find your recovered documents.
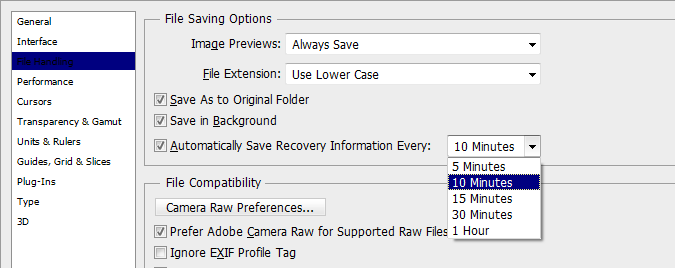
You can set the auto save setting by going to Edit > Preferences > File Handling (Windows) or Photoshop > Preferences > File Handling (Mac)
Also new is background save. Saving large Photoshop files can take several minutes and now Photoshop can do it in the background so that you can continue working.
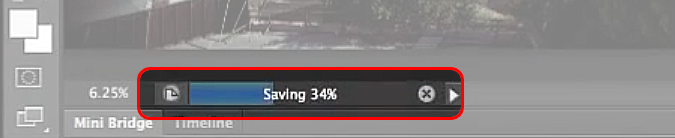
A new save progress bar appears when saving large files.
3. Searching for layers in your 100-layers PSD
A lot of time can be wasted trying to find the right layer to edit. In Photoshop CS6, the Layers palette has been revamped with a new filter menu. Now you can sort and find your layers using different layer properties. To turn filtering off, just press the

near the top-right of the palette.
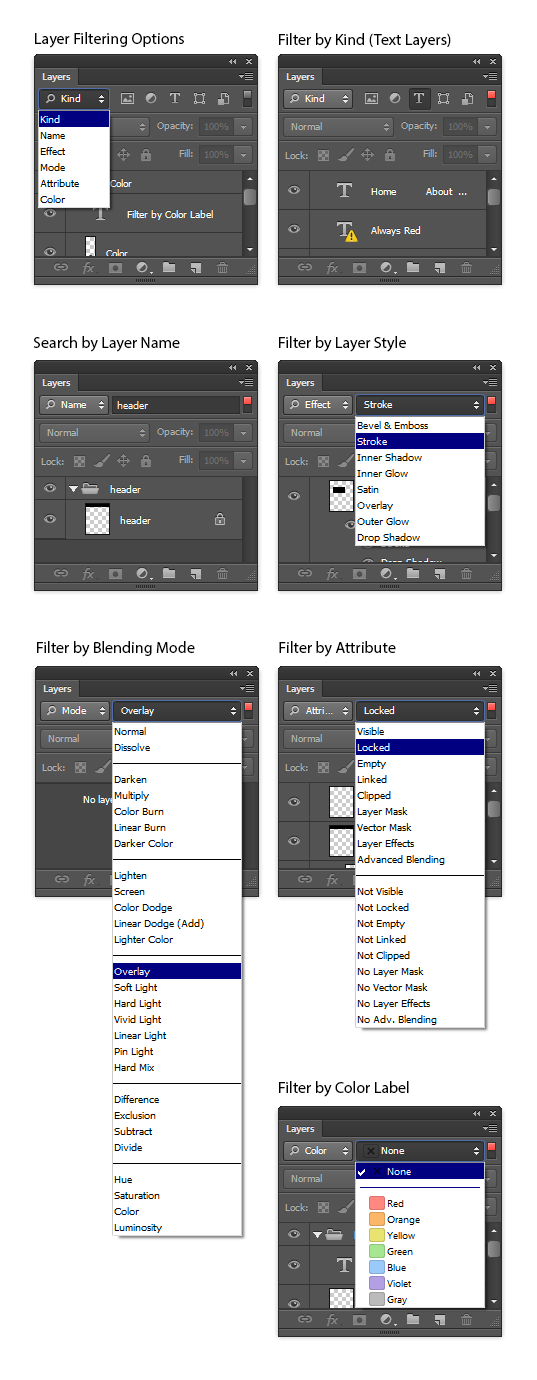
Working on a PSD with 100 layers is less of a headache now thanks to Photoshop CS6’s new layer filtering tool
4. Editing multiple layers at a time
Photoshop CS6 fixes some bugs and adds some enhancements with editing multiple layers. First of all, the Ctrl/Cmd+J hotkey to duplicate layers now work with multiple layers. You can also change blending modes, locking modes, opacity, and apply color labels to multiple layers at a time.
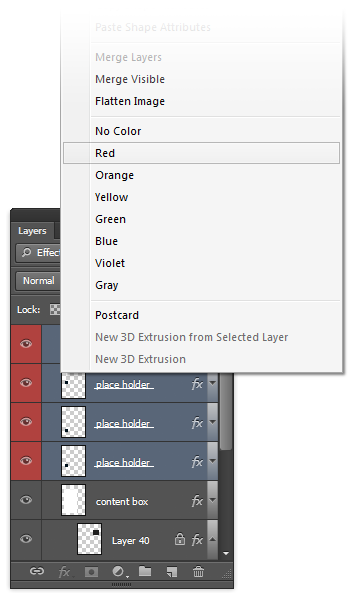
Applying color labels to multiple layers at a time
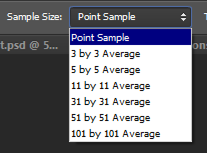
5. Fix for the Magic Wand Tool
Before, many Photoshop users could not figure out why their Magic Wand tool wasn’t working properly. There was a bug where if you changed the sample size setting in your Eyedropper tool, it would change it for the Magic Wand tool too – and you can’t change it back with the Magic Wand tool. This has been fixed in CS6 by introducing the sample size menu into the Magic Wand options bar.
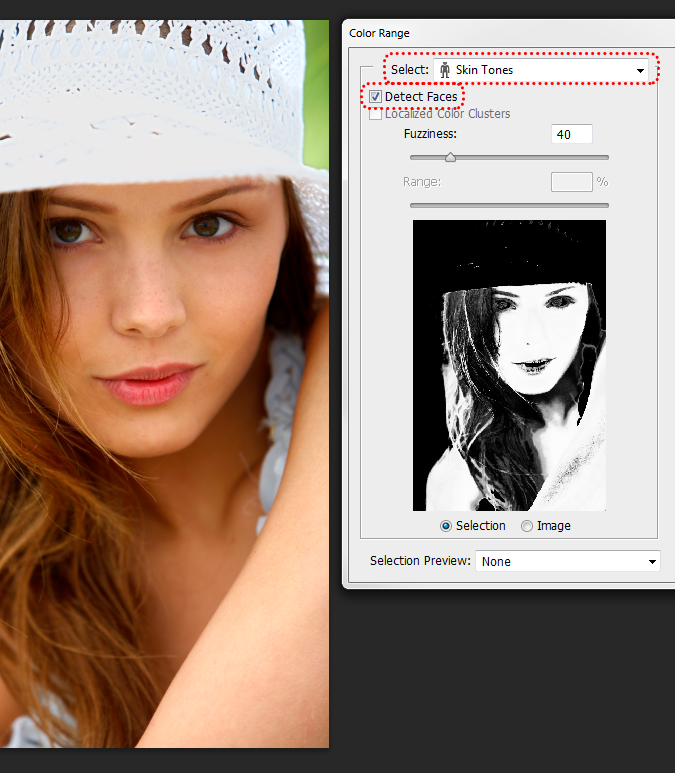
 6. Making Selections Better in Photoshop CS6
Want to retouch skin? The improved Color Range selection tool (Select > Color Range) lets you do this easier with skin tone and face detection! Just set the mode to Skin Tones and enable Detect Faces and Photoshop will create a pretty good selection of the skin.
 7. Using the new Crop tools
The Crop tool in CS6 can be a little confusing when you first use it. Adobe took the Crop tool from Lightroom and put it in Photoshop. First of all, it’ll automatically create a crop selection of the entire image when you select the Crop tool. To move the crop area, pan the image instead of the crop selection (as if you were moving a piece of paper).
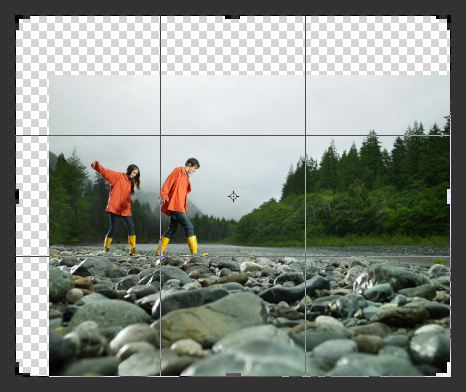
The new crop tool shows you a preview of your background if you extend the crop area beyond your image boundaries.
There are several views that you can use instead of the Rule of Thirds. To cycle through them quickly, just press O on your keyboard.
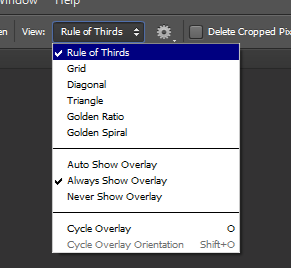
The new crop views
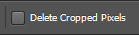
Also note that Photoshop by default will crop your images non-destructively so that you can expand your crop at a later time. If you want to disable this feature, checkmark the “Delete Cropped Pixels” in the option bar.
Switch to the Perspective Crop tool to fix the perspective of photos. Think of it as the old Crop tool with the Perspective option checked but better. This tool only works when you have no text/shape layers.
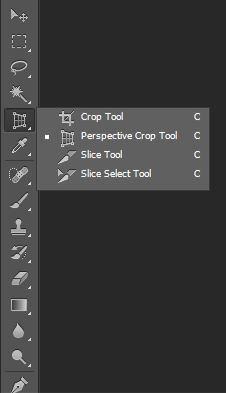
The Perspective Crop tool
8. Eyedropper tool enhancements
The new sample modes for the Eyedropper tool lets you ignore adjustment layers and sample from the current layer and below. Also changed is the sample size option – it doesn’t affect the Magic Wand tool anymore.
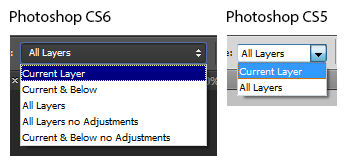
The new sampling modes
9. Using the Patch Tool on Content-Aware mode
The Patch tool isn’t new but what is is a new Content-Aware mode for the Patch tool. Content-Aware fill worked great for removing objects and selecting areas to copy the background from. With the Patch tool on Content-Aware mode, you can specify where Photoshop should sample the background from so that you get better object removals.
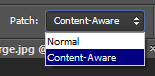
You can change the patch mode in the options bar

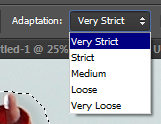
Not getting the results you like? Try changing the adaptation setting.
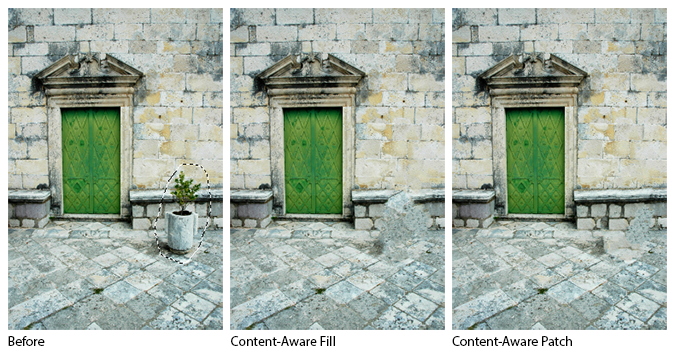
The Content-Aware Patch tool can get results closer to perfect
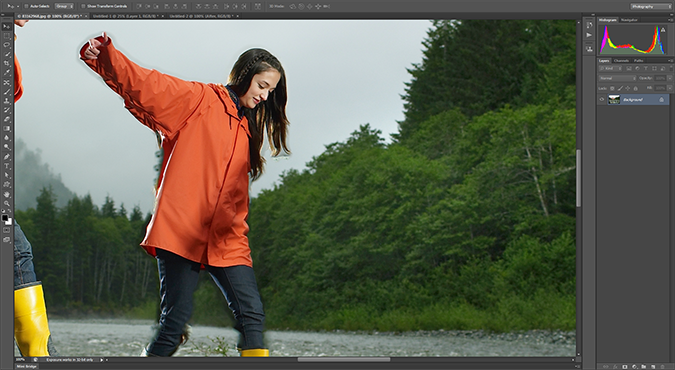
10. Using the new Content-Aware Move tool to move and extend objects
The Content-Aware Move tool lets you move objects easily using content-aware technology. It works wonderfully when moving objects with a simple background but not perfectly for more complicated scenes like the one below.
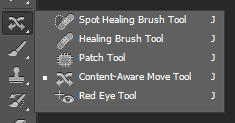
The Content-Aware Move tool
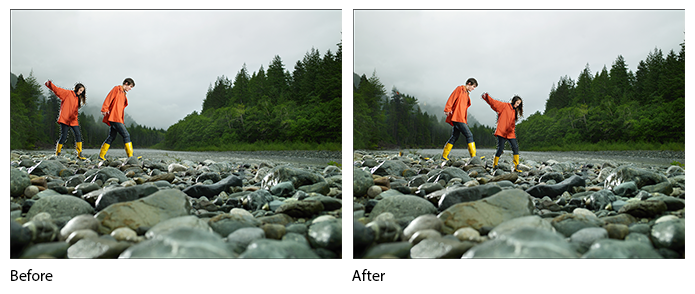
Photoshop did most of the work but more clone/heal work needs to be done for this image.
 Not getting good results? Try adjusting the Adaptation level.
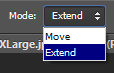
Change the mode from Move to Extend and now you can extend objects. To use, simply create a selection then drag to extend the object.
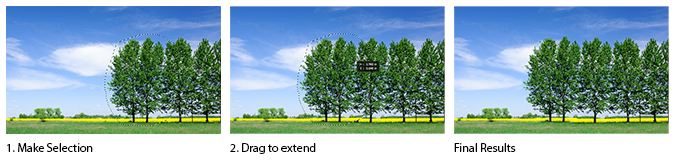


.jpg)